


And while we are on the subject of t-shirt, turn your t-shirt collection into a quilt! Above is a dance t-shirt quilt that I did for one of my daughters. I took her dance t-shirts, and basically cut the fronts/backs into same sized quilt blocks.
But before I cut the t-shirts into quilt blocks, I backed the shirts with fuseable interfacing, to have a bit more strength to them. The
 n used a plastic square for my guide, used my olfa cutter and mat and clear ruler, plastic square and cut out the blocks.
I used the techniques listed in Nancy Johnson-Srebro's book Rotary Magic book, for cutting out the strips that I put in between my quilt blocks.
I also used her techniques in binding the quilt (and my Mom's techniques too).
Here is a link to the craft stylish website, that allows you to put together a t-shirt quilt with non-square t-shirt logos. Be sure to take a good look at that site, if you have non-square t-shirt blocks to put together for a t-shirt quilt. Gail Pickens-Barger
http://www.craftstylish.com/item/45413/how-to-make-an-out-of-the-ordinary-t-shirt-quilt-part-one
and part two of the t-shirt quilt tutorial: http://www.craftstylish.com/item/45990/how-to-make-an-out-of-the-ordinary-t-shirt-quilt-part-two
p.s. The other quilt pictured here, was one I made for Stanley School in Victoria, Texas. Took old t-shirts for the quilt, donated by teachers and students. It was a remembrance quilt, in that the students were moving to Chandler elementary school. This was part of a fund raiser for the PTA/School. Made pillows also, with the t-shirt fronts that didn't fit into the quilt.
P.s.S. Getting ready to do another batch of T-shirt quilts. Here is a new website about it. An Aggie T-shirt
quilt. http://craftsbyabby.blogspot.com/2009/04/t-shirt-quilt-tutorial-planning.html
enjoy!!!


 Centering the clear plastic template and deciding how much to add to the top of the pillow.
 Cutting out the initial square.
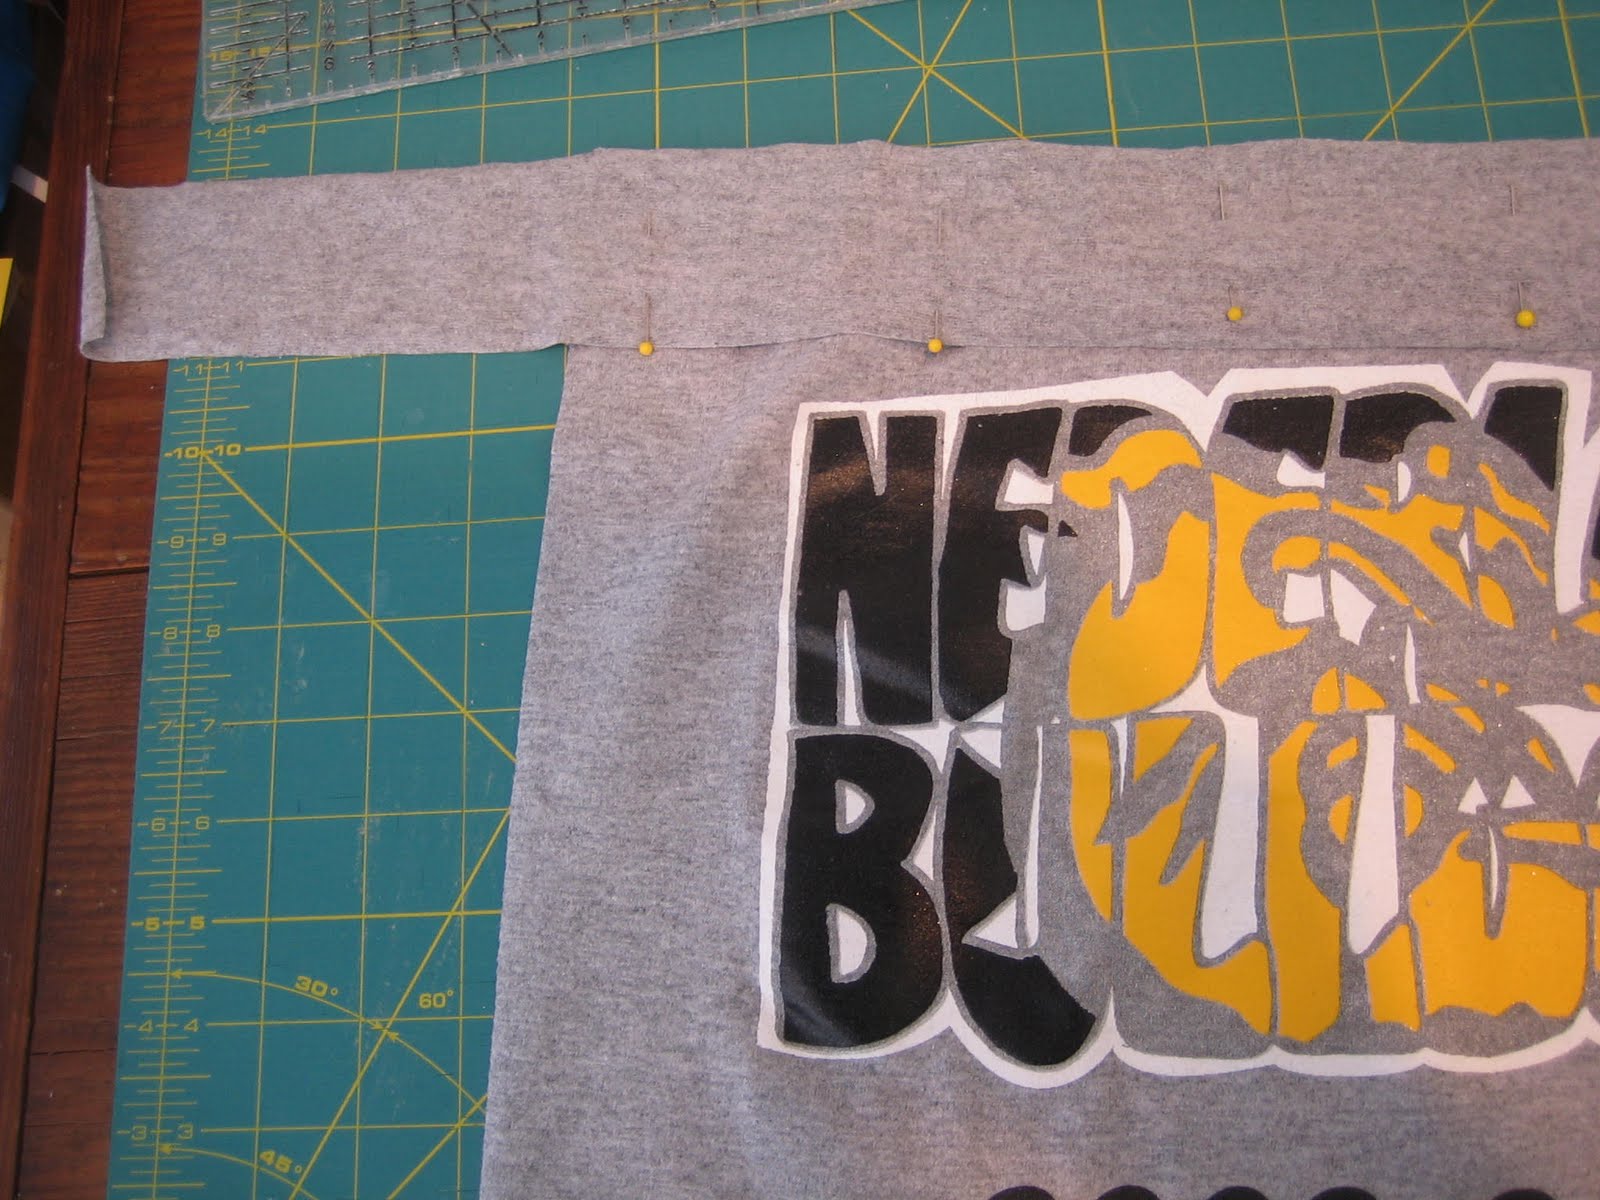 Adding a strip of material to the top of the pillow front.